Here in the 21st century, the old style printed yearbook still is around. However, more and more schools across the country are producing video yearbooks in addition to the more traditional printed yearbook. In a video yearbook, you show the visuals and sounds that make your High School years memorable.
The key to a video yearbook is planning ahead of time. When I work with schools who want to produce a video yearbook, I try to have a planning session with them during the first three weeks of school, so they have an idea of what they need to do before Homecoming and other events occur. It's tough to shoot video of the Homecoming game if it is already over.
You start by thinking of your video much like a printed book. Books have chapters, and so do video yearbooks. What chapters will your video have? Sports? Fine arts? Speech contest? Mock trial? Everyday life in the classroom?
What do schools include in a Video Yearbook?
Senior portraits
Music, drama or other activities
Competitions & Awards
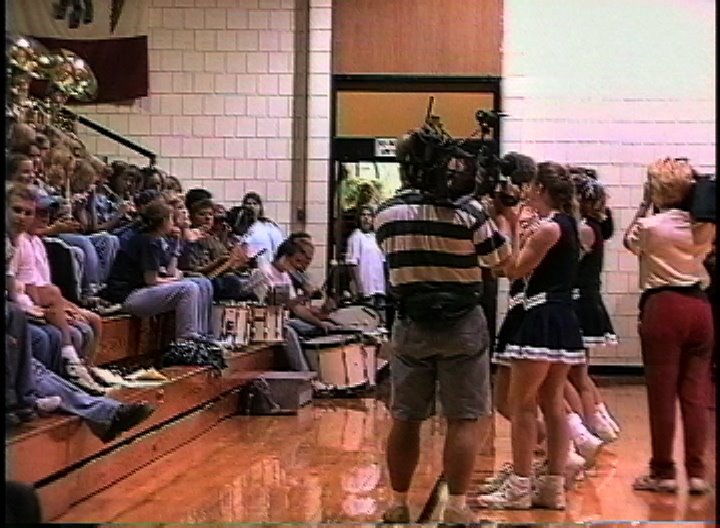
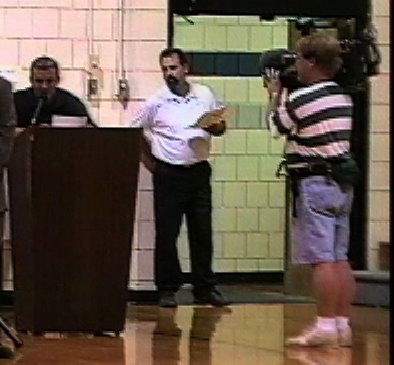
Every day life at school
Teachers
Sports
How will you sort your images into "chapters"?
Example #1
I. Fall Activities
II. Winter Activities
III. Spring Activities
Example #2
I. Sports
II. Music and drama
III. Everyday life
IV. Graduation
Example #3
I. Senior collage part one
II. Football and basketball
III. Senior collage part two
IV. Life in the classroom
V. Senior collage part three
VI. Drama, arts, music
VII. Prom and graduation
Here are the steps I recommend:
1. Make an outline of “chapters” you want in your yearbook.
2. Write down the specific video clips, still photos, sound bites or interviews you want for each chapter. Find out what you may already have.
3. Assign someone to videotape events you need (Homecoming, Class Play, etc). Have shots of as many different students as possible, not just your friends
4. Obtain permission to use any copyrighted music.
5. Gather all still photos needed. Carefully label them so that they can be returned to owners.
6. Log tapes so you know what clips are on each tape.
7. Put still photos in the order you plan to use them in the yearbook. A still photo is on the screen for 5 seconds; so it takes one minute to show 12 photos. Make sure you don't want to show 400 photos in 10 minutes.
8. Write down all titles and credits before you begin editing. Check the spelling of names.
9. Allow enough time to complete the project. Then add an additional 25% to that, because something always ends up taking longer than you thought it would.